12 DIY Sensory Bottles: Fillers, Sealing and Leak Tests

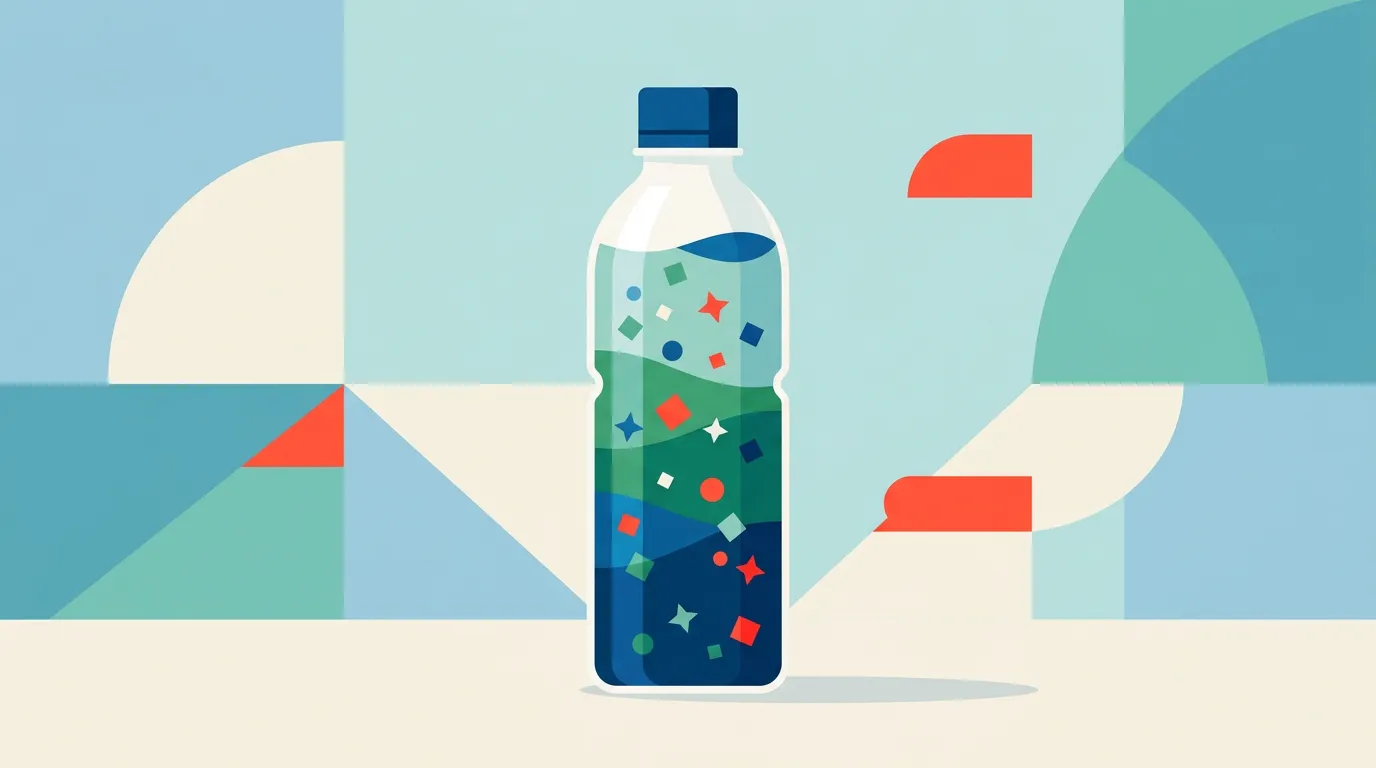
A sensory bottle is a clear container filled with materials that move, make sound or invite close looking. The idea is simple; the closure is the part that deserves most of your attention. A beautiful bottle with a cap that can loosen is not a finished children’s activity.
This guide gives you 12 distinct designs, but it starts with the decisions that make them usable: who will handle the bottle, which container fits that use, how the filler behaves and how you will test the closure. No homemade bottle is guaranteed to be leakproof, childproof or indestructible. If a child chews caps, throws hard objects or will use the item without an adult present, choose a commercially manufactured, age-labeled sensory toy instead.
Quick answer: the safest way to plan a DIY sensory bottle
- Choose the user before the filler. A display bottle for an older preschooler and a bottle handled by a mouthing toddler need different risk decisions.
- Use an intact, clear plastic bottle with a threaded cap. Reject cloudy, cracked, dented or cross-threaded containers. Avoid glass for child-handled bottles.
- Prototype the motion without adhesive. Fill, close and observe the bottle over a tray while an adult controls it. Adjust the mixture before making the closure permanent.
- Clean and dry the threads. Liquid, oil, glitter or grains on the neck can stop the cap from seating evenly.
- Follow the sealant label. An adult should use only a product whose manufacturer identifies it as compatible with the bottle plastic. Observe ventilation, skin-protection and cure-time instructions.
- Leak-test after the full cure time. Inspect, invert over a paper towel, roll and then shake. Any moisture, crack or moving cap means the bottle is not ready.
- Inspect before every session. Retire the bottle when the cap shifts, the seal separates, the plastic develops stress marks or the contents change unexpectedly.
The U.S. Consumer Product Safety Commission’s small-parts guidance explains why accessible small pieces are a serious choking, aspiration and ingestion hazard for children under 3. A sealed bottle keeps its filler inaccessible only while the bottle and closure remain intact.
Choose the bottle before choosing a recipe
A clear plastic beverage bottle is inexpensive, but “reused” does not automatically mean suitable. Wash it, remove residue and let it dry. Under bright light, inspect the base, sidewall, neck, threads and cap. The cap should turn smoothly and finish level, without rocking or jumping a thread.
| Container | When it can work | Main drawback |
|---|---|---|
| Small clear PET beverage bottle | Lightweight visual bottle for supervised use | Thin walls can crease; narrow neck limits filler size |
| Sturdy clear plastic activity bottle with threaded cap | Repeated classroom or home use when the product is intended for that purpose | Costs more; still requires inspection and age guidance |
| Wide-mouth plastic jar | Dry discovery bottle with larger objects | A shallow lid or poor thread fit can loosen more easily |
| Glass jar | Adult-controlled display only | Breakage makes it a poor choice for child handling |
Do not use a bottle that once held medicine, cleaning products, nicotine liquid or another hazardous substance. Do not add magnets, button batteries or water beads. The CPSC currently urges caregivers to remove water beads from environments with children because loose beads can be swallowed, inserted or aspirated and can cause life-threatening injuries. A seal is not a reason to place a high-consequence filler inside a homemade toy.
Compare dry, water, glue and oil fillers
| Filler system | What it does | Setup and cleanup | Best starting use |
|---|---|---|---|
| Dry materials | Rattle, tumble, hide and reveal | Fastest setup; no liquid leak, but loose contents are still hazardous if the bottle opens | Adult-supervised sound or search bottle |
| Water | Produces quick movement and clear color | Low cost; can cloud if unsuitable materials are added | Fast-fall visual bottle |
| Clear school glue plus water | Slows glitter and light plastic pieces | Needs mixing and time for bubbles to settle | Slow visual bottle |
| Oil plus water | Creates two moving layers | Harder to clean from threads; material compatibility matters | Adult-made lava-style bottle |
For a first slow bottle, ZERO TO THREE’s calming glitter bottle instructions use clear school glue for about one-eighth to one-quarter of the container, then add water. That is a starting range, not a universal formula: glue brand, temperature, glitter size and the amount of headspace all change the settling speed. Mix a small sample first. More glue generally means slower movement; more water means faster movement.
For an oil-and-water design, color the water phase rather than the oil. Leave enough room for the layers to move, but avoid a large air pocket that makes the bottle slap and foam when shaken. Oil on the threads can undermine a clean closure, so wipe the neck carefully before the cap goes on.
Build, seal and test the bottle in separate stages
Plan on 10 to 20 minutes for filling and adjusting a simple bottle, plus the full cure time printed on the sealing product. Most designs use a reused bottle and household materials; a purpose-made bottle or new craft supplies raises the cost. Do not rush the cure to fit an activity schedule.
- Wash and inspect. Clean the bottle and cap, rinse away soap and dry both completely. Confirm that the cap seats correctly while the bottle is empty.
- Make a small test mixture. Use a spare jar to check whether glitter sinks, plastic confetti bleeds color or oil and water create the effect you want.
- Fill below the neck. Use a funnel for narrow openings. Leave modest headspace for movement and expansion.
- Remove contamination from the closure. Wipe the rim, threads and inside of the cap. For an oil bottle, repeat until no slick residue remains.
- Close and observe before permanent sealing. With an adult controlling the bottle over a sink or tray, check the motion and look for an immediate cap leak. Reopen only if an adjustment is needed.
- Seal as the product directs. Keep uncured adhesive and fumes away from children. Do not improvise by mixing sealants, and do not assume hot glue or general craft glue bonds to every plastic.
- Leave it undisturbed. Wait the entire labeled cure period. “Dry to the touch” and “fully cured” may be different times.
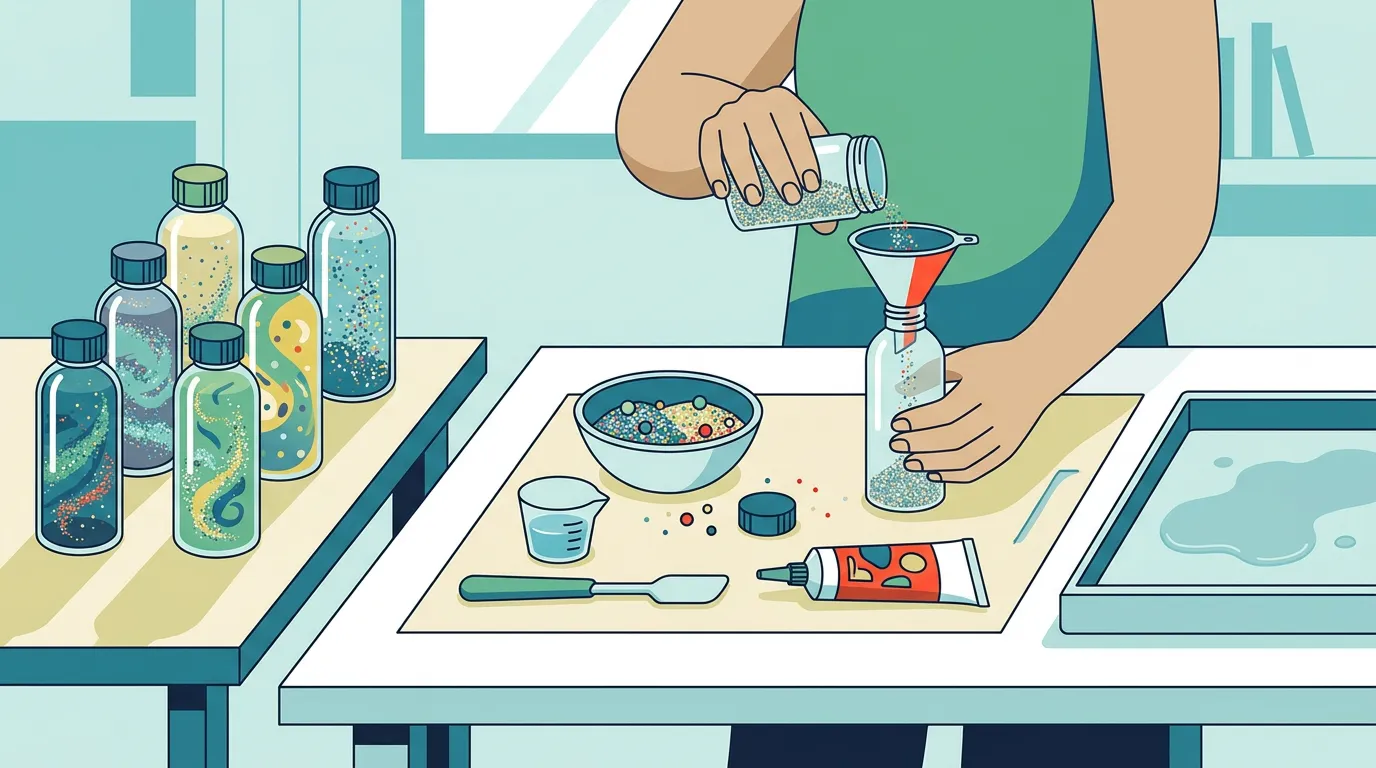
A four-part leak test
- Inspect the cured seam, cap, neck and bottle wall in good light.
- Hold the bottle upside down over a dry paper towel for several minutes. Check the towel and seam for small wet spots.
- Roll the bottle slowly over a tray, then shake it only as firmly as it will be used.
- Inspect again. Pressing, squeezing, dropping or temperature-testing a thin beverage bottle can damage it; the goal is not to prove it indestructible.
If the cap moves, the seam separates or the towel becomes damp, empty and rebuild the bottle or discard it. Adding tape over a failed seal hides the problem rather than fixing it.
12 sensory bottle ideas with different jobs
These are build briefs, not claims that every design suits every child. Use large, sturdy bottles for child handling, keep every bottle supervised and skip any filler that creates an unacceptable risk in your setting.
- Slow glitter drift. Combine clear school glue, water and a modest amount of fine glitter. Start with glue at roughly one-eighth of the bottle, adjust in a test jar, and stop adding glitter while the liquid is still easy to see through. Best for quiet visual tracking.
- Two-color oil-and-water waves. Add colored water and clear oil to create two separate layers. This gives a slower, rolling boundary rather than suspended glitter. Best for an adult-made science observation; check plastic and sealant compatibility.
- Fast confetti fall. Use plain water with a few pieces of waterproof plastic confetti. Choose pieces that keep their color during a 24-hour test soak. Best when you want a quick shake-and-settle effect.
- Floating and sinking comparison. Add water and a small selection of plastic pieces that behave differently in the test jar. Keep the bottle visually sparse so a child can compare one object with another. Do not use natural material that can decay.
- Single-color discovery bottle. Put dry objects in shades of one color into a clear bottle: for example, large plastic links, fabric strips and a chunky plastic shape. The objects may be small enough to be hazardous outside the bottle, so the closure and supervision remain essential.
- High-contrast baby viewing bottle. Use large black-and-white plastic or fabric elements in a dry, sturdy bottle. An adult can roll it slowly on the floor during awake play. It is not a teether, rattle or sleep item.
- Soft sound bottle. Fill a small portion of the bottle with dry oats or large pasta so there is room to move. Compare the sound with a harder rice-filled version before choosing; dry food fillers must remain inaccessible and should be discarded if the bottle opens or becomes damp.
- Loud-versus-quiet pair. Make two visually identical bottles with different dry fillers, such as fabric pieces in one and dry pasta in the other. Offer one at a time at first, then compare. Label the bases so adults know what is inside.
- Nature-look bottle without decay. Use clean, dry synthetic leaves, large faux flowers and fabric “grass” rather than fresh leaves or food in liquid. A dry design keeps the colors visible and avoids decomposing contents.
- Shape hunt. Place a few large plastic shapes in shredded paper, then attach a simple picture key to the outside. Rotate instead of shaking wildly. This design is better for an older child who can follow a search prompt.
- Ribbon movement bottle. Put wide, short fabric strips in a dry wide-mouth bottle. Avoid long cords, frayed ribbon, elastic loops and anything that could become a strangulation hazard if the bottle failed.
- Minimal color-mixing bottle. Use clear water with one or two drops of food coloring in each of two bottles. Compare how the colors look side by side rather than combining many additives. This is the least cluttered option and easy to remake if the water clouds.
If you want loose scooping and pouring instead of a sealed object, use the separate guide on how to make a sensory bin. For activities organized around what babies and toddlers can currently do, see sensory play by age.
Choose by effect, not by decoration
- For the lowest liquid-mess risk: start with a dry bottle, but remember that its loose contents become accessible if the closure fails.
- For quick visual movement: use water with a small amount of waterproof filler.
- For a slower fall: test clear school glue and water.
- For distinct layers: use oil and colored water only after checking material compatibility.
- For sound comparison: make a pair with noticeably different dry fillers and keep the fill level low.
- For a child who mouths or throws: do not rely on a homemade bottle. Select an age-labeled commercial product that is designed and tested for the expected use.
Use a “calming” bottle as an invitation, not a promise
Watching glitter settle may be a pleasant mindfulness prompt for some families, as ZERO TO THREE describes. It will not calm every child, and it should never be used to demand that a distressed child become quiet. Offer it, watch together and put it away if the movement, sound or visual intensity is unwelcome.
A DIY bottle is also not sensory integration therapy. The American Academy of Pediatrics has noted that research on sensory integration therapy is limited and inconclusive and recommends discussing any therapeutic plan with a child’s clinicians. Keep an ordinary craft claim ordinary: it can offer something interesting to watch, roll or compare.
Inspect, clean and retire bottles
Before each use, check the cap, seam, neck, sidewalls and base. Wipe the outside with a damp cloth that is suitable for the bottle material; do not soak a sealed seam unless the sealant maker says that is acceptable. Store bottles upright, out of direct heat and out of children’s reach between sessions.
Retire a bottle when:
- the cap rotates or lifts;
- the adhesive peels, cracks or separates;
- the bottle has a dent, crease, puncture or cloudy stress mark;
- liquid appears around the seam;
- the water becomes cloudy, grows visible material or develops an odor;
- oil softens the plastic, liner or seal;
- a child begins chewing the cap or throwing the bottle.
Do not reopen a permanently sealed bottle for cleaning. Once the inside needs maintenance, safe disposal and a fresh build are more realistic than trying to restore the old closure.
Sources and safety references
Last source review: July 26, 2026. Product instructions and official safety guidance can change, so check the current label and linked page before building.
- CPSC: Small Parts Ban and Choking Hazard Labeling
- CPSC: Water Beads
- ZERO TO THREE: Calming Glitter Bottle
- American Academy of Pediatrics: Sensory Integration Therapies
Frequently asked questions
Is clear glue or oil better for a sensory bottle?
Use clear school glue mixed with water when you want glitter or light pieces to fall more slowly. Use oil and water when you want two layers that separate after shaking. Glue is easier for a first slow bottle; oil demands more attention to plastic, cap-liner and sealant compatibility.
How much glue should I put in a sensory bottle?
ZERO TO THREE suggests filling roughly one-eighth to one-quarter of the container with clear school glue, then adding water. Begin at the low end in a test jar. Add more glue only if the contents settle too quickly, because removing an overly thick mixture is harder than thickening it.
Can I make a sensory bottle without glue?
Yes. Plain water creates quick movement; oil and water create layers; dry fillers create sound and discovery bottles. “Without glue” should not mean “without a secure closure.” The cap still needs to fit correctly, and any sealing method must match the bottle and its intended use.
Are sensory bottles safe for babies?
A homemade bottle has not automatically passed the testing required of a commercial children’s product. Babies mouth, drop and bang objects, so adult-controlled looking or rolling is more appropriate than unsupervised handling. If the baby can reach the bottle, use a large, sturdy plastic container, remain beside them, inspect it every time and remove it at the first sign of damage.
Can I put water beads in a sealed sensory bottle?
Do not use them. The CPSC urges caregivers to remove water beads from environments with children because they can cause severe injury or death if swallowed and can be difficult to find after a spill. A homemade seal can fail, so enclosing the beads does not remove the consequence of failure.