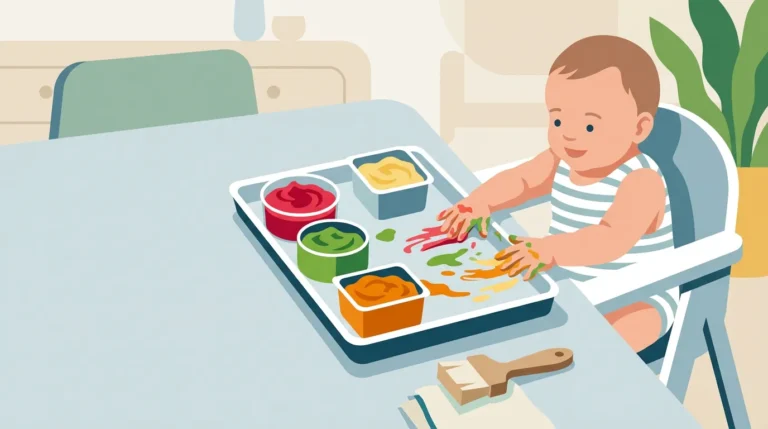
How to Make a Sensory Bin: Safe Fillers, Tools and Colored Rice

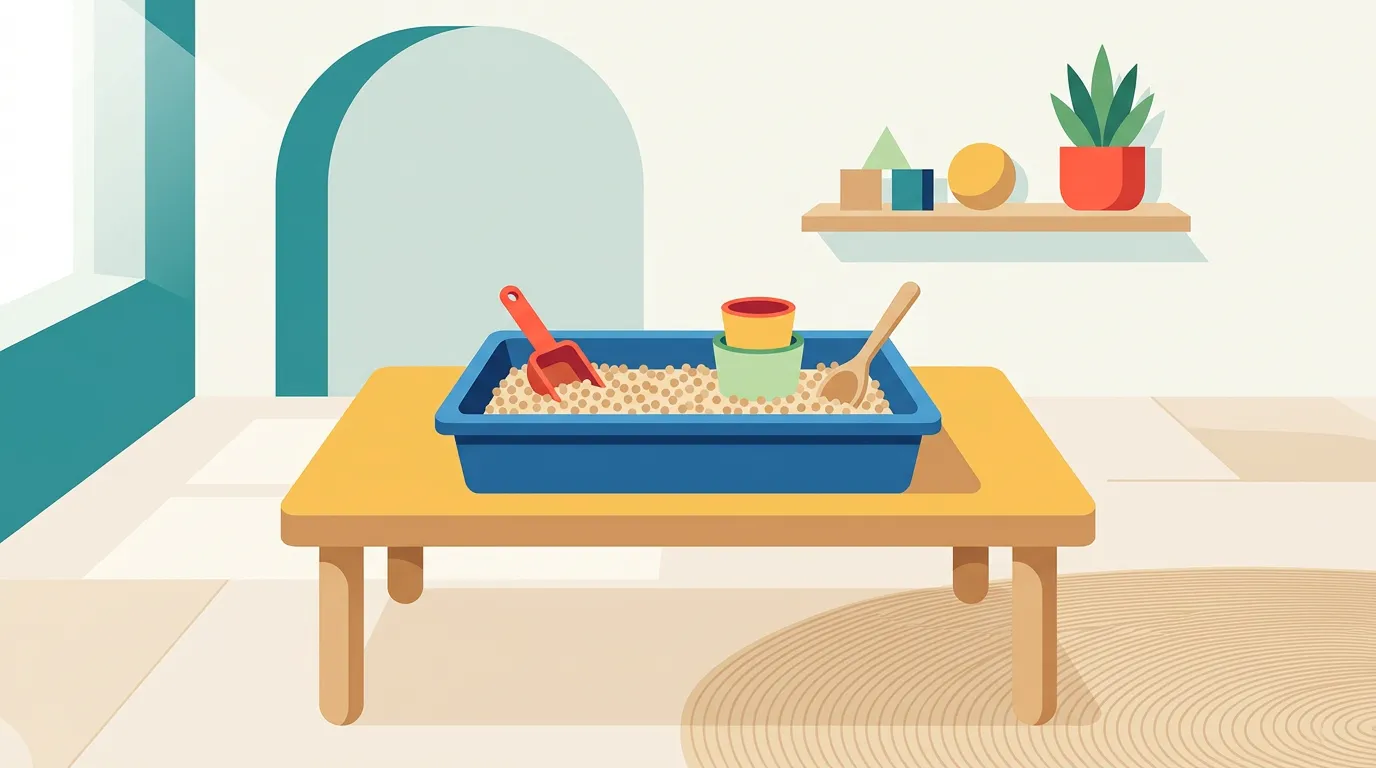
You do not need a themed shopping list to make a useful sensory bin. Start with a stable container, one material and two or three tools that suggest a clear action: scoop, pour, squeeze, wash, hide, find or sort.
The material should be chosen for the child in front of you, not for the photograph you want to recreate. Mouthing, allergies, hand control, noise sensitivity and the amount of supervision available matter more than color. This guide walks through those decisions, includes three starter setups and gives a measured colored-rice method for older children who can use small loose material safely.
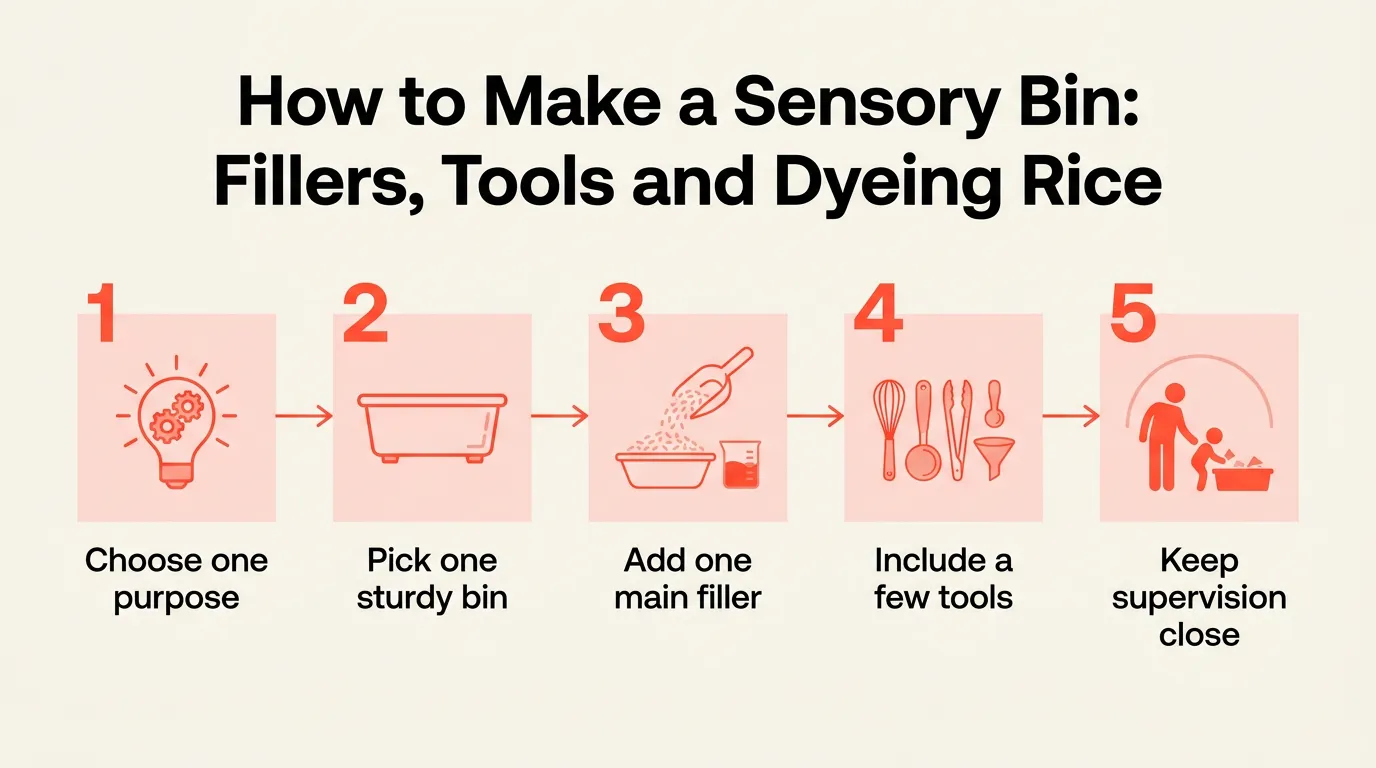
The one-bin formula
- One container: low enough to reach into, deep enough to catch ordinary spills and wide enough for both hands.
- One base: water, shredded paper, fabric, sand, dough or a loose dry filler that is suitable for the user.
- Two or three tools: for example, a scoop plus two cups, or tongs plus two sorting bowls.
- One invitation: “Can you fill the cup?”, “Which objects are hiding?” or simply “What do you notice?”
- One cleanup boundary: a towel, mat, tray or outdoor area established before the bin opens.
Head Start’s guidance on messy play recommends a defined, easy-to-clean space and notes that too many materials or tools can overwhelm some children. A smaller setup is also cheaper and easier to repeat.
Screen the setup for safety before choosing a theme
Use this check every time, including when you reuse a familiar filler:
- Mouthing: If the child still puts play materials in their mouth, skip loose rice, beans, pasta, beads, pom-poms, stones and small toys. “Edible” does not prevent choking, aspiration or contamination.
- Small parts: The CPSC defines a small part by whether it fits completely inside a standardized small-parts cylinder and treats accessible small parts in products intended for children under 3 as choking, aspiration and ingestion hazards. A toilet-paper roll is sometimes suggested online as a home check, but it is not the regulated test cylinder and should not be treated as proof that an object is safe.
- Water: Stay within arm’s reach and give water play your full attention. The American Academy of Pediatrics recommends close, constant touch supervision around water for toddlers. Empty the bin immediately when play ends.
- Allergens: Check every food-based filler and commercial dough against the child’s allergy plan. CDC guidance for schools and early-care settings recommends avoiding known allergens in classroom activities, including arts and crafts.
- Labels: Follow the age, hazard and cleaning instructions on toys, paints, doughs and sensory products. HealthyChildren.org recommends choosing art materials that conform to ASTM D4236 and bear the Approved Product seal rather than products with cautionary hazard labels.
- Condition: Remove cracked tubs, sharp tools, splintered wood, broken toys and anything with a loose battery compartment or detachable magnet.
Do not use water beads. Current CPSC guidance tells caregivers not to allow children to play with them and urges their removal from environments with children. The beads can be difficult to find after a spill and can cause severe injury if swallowed or inserted.
Choose a container and use less filler than you think
A lidded plastic storage tub is practical because it is light, washable and easy to inspect. For tabletop play, choose a footprint that leaves room for the child’s forearms without putting the tub near an edge. Floor play works best on a non-slip mat. A deeper bin contains enthusiastic pouring better, but a very tall wall can make reaching awkward.
Begin with a layer about 1 to 2 inches deep for a loose dry filler, or just enough water to cover the base of the tub. These are setup amounts, not safety limits. Add more only when the action actually needs it. A shallow layer is quicker to collect and exposes hidden objects before a child becomes frustrated.
Compare sensory bin fillers
| Base | Best use | Mess / noise | Cost and reuse | Important limit |
|---|---|---|---|---|
| Empty bin, fabric or washcloths | Pulling, gathering, hiding large objects | Very low / quiet | Low cost; washable and reusable | Inspect for strings, fraying and detachable pieces |
| Clean shredded paper | Hiding, tossing and light transfer | Low to medium / rustly | Often free; recycle or discard | Not for a child who eats paper; avoid staples and glossy contaminated paper |
| Water | Pouring, squeezing, washing, sink-or-float observation | Medium / quiet | Low cost; discard after play | Requires constant, arm’s-reach supervision |
| Dry rice | Controlled scooping and funnel play | Medium to high / audible | Low to medium; reuse only when clean and dry | Small loose material; not for mouthing children |
| Dry pasta or large beans | Scooping and sorting by shape | Medium / loud on hard plastic | Low to medium; reusable if clean and dry | Pieces can choke or roll under furniture; check allergies |
| Plain rolled oats | Soft dry scooping | Medium / quiet | Low; shorter useful life | Food allergen and pest concerns; not automatically safe to eat during play |
| Play sand | Digging, molding and tracks | High / quiet | Medium; reusable if kept clean and dry | Use a product intended for children and follow its label; avoid inhaling dust |
| Age-labeled modeling dough | Pressing, rolling and imprinting | Low / quiet | Medium; reusable until dirty or dried | Not food; some products contain allergens such as wheat |
Food-based material is not always the budget winner once waste, pests and allergy substitutions are considered. A bin of washcloths and large kitchen tools may cost nothing and survive dozens of sessions. Use the taste-safe sensory play guide when mouthing is still part of play, while remembering that taste-safe and choke-safe are separate questions.
Pick tools for one action
- Scoop and pour: a wide scoop, measuring cup, small pitcher or funnel. Use only pieces that are large and sturdy enough for the child.
- Transfer: two cups, a ladle or a large spoon. A clear start and destination reduce random scattering.
- Squeeze: a whole sponge, silicone baster intended for play or a washable cloth. Remove torn pieces.
- Sort: two shallow bowls and a small set of clearly different, age-appropriate objects.
- Search: three to five large objects plus a picture key. The key turns “dig around” into a concrete game for an older child.
- Pretend: two or three large washable figures, vehicles or kitchen items. Props should create an action, not merely decorate the filler.
Wide handles are easier to control than tiny tongs. Silicone is quieter than metal against plastic. A funnel can be satisfying but quickly jams when the opening is too small for the filler. Test the combination yourself over the bin before presenting it.
Three low-cost starter bins
1. Low-mess pull-and-fill bin
Good for: a child who still mouths objects, with direct adult supervision. Materials: empty tub, three intact washcloths, one large silicone cup and one large wooden spoon. Setup: about 3 minutes. Cost: usually no new purchase. Hide the cup under the cloths, fill it, empty it and gather everything back into the tub. Wash items after mouthing.
2. Older-child rice transfer bin
Good for: a child who no longer mouths play material and can use small loose filler under close supervision. Materials: 2 to 4 cups of dry rice, a scoop, funnel and two cups. Setup: about 5 minutes with plain rice. Cost: low. Place the bin on a sheet or washable mat, and keep a brush and dustpan beside it. Skip this setup if another younger child or pet can reach spilled grains.
3. Water wash station
Good for: a child who enjoys everyday pretend play. Materials: shallow water, one whole sponge, two large washable toys and a towel. Setup: about 5 minutes. Cost: usually no new purchase. Wash, rinse and dry one toy at a time. The adult stays within arm’s reach and empties the water as soon as play ends.
For a larger catalog organized by mess, filler and pretend-play theme, continue to 45 sensory bin ideas for toddlers and preschoolers.
How to dye rice evenly
This is an adult preparation task. The recipe below makes one manageable color batch.
Materials
- 2 cups uncooked white rice
- 5 to 10 drops liquid food coloring, with more added only if needed
- 1 teaspoon white vinegar
- one sturdy zip bag or lidded container
- parchment paper or a washable lined tray
- gloves and an apron if staining is a concern
Method
- Protect the counter and place the rice in the bag.
- Add the vinegar and five drops of color. Push excess air out and seal the bag completely.
- Turn, shake and massage the bag until the color is distributed. Open it over the protected tray and add only a drop or two at a time if pale patches remain.
- Spread the rice in one thin layer. Separate clumps with a spoon.
- Leave it uncovered in a child- and pet-free place until every grain feels dry. Turn it once to expose the underside. Humidity, dye amount and layer depth change the drying time, so use touch rather than the clock.
- Rub a spoonful between a white paper towel. If color or moisture transfers, keep drying it. If it remains damp, smells unusual or clumps again after drying, discard the batch.
Make separate colors and combine them only after each batch passes the dry paper-towel check. Do not use craft paint, solvent dye, glitter or essential oil. Food coloring makes the preparation simpler, but the finished rice is still play material, not a snack.
Colored-rice troubleshooting
- Patchy color: the batch was too large or not turned enough. Work in 2-cup batches and massage the corners of the bag.
- Wet clumps: too much liquid or too deep a drying layer. Spread it thinner and separate clumps. Discard it if it will not dry fully.
- Color on hands: the rice is not dry or excess dye remains. Continue drying and retest on white paper.
- Vinegar smell: leave the rice exposed longer. A persistent or unpleasant odor is a reason not to store it.
- Dust or broken grains: sift outdoors away from children or discard the batch rather than allowing dust to become airborne during play.
Set the boundary before the child arrives
Put the bin where you can supervise without multitasking. Add a washable mat or towel, place cleanup tools within reach and explain the boundary in one sentence: “The rice stays in the bin,” or “Water stays on the mat.” A child who repeatedly throws, eats or carries the filler is showing that this setup is not workable yet. End it calmly and switch to a larger-object activity.
Do not force hand contact. Head Start recommends following children’s cues and offering tools or another way to participate when a texture is unwelcome. A spoon, wide brush, glove or sealed paint bag can provide distance. Watching is also participation.
Clean, store or discard
- Pick out toys and tools. Wash them according to their material and dry them completely.
- Discard water, wet food, saliva-contaminated filler and anything exposed to pets, outdoor dirt or an allergen cross-contact concern.
- For clean dry filler, remove foreign objects and inspect for moisture, odor, pests and broken pieces.
- Store reusable filler in a labeled, dry container with a secure lid, out of reach of children and pets.
- Inspect the tub before the next use. Replace it if the rim cracks or develops a sharp edge.
Do not save a bin simply because its ingredients cost money. When you cannot confidently identify where a spill went or whether a filler stayed clean and dry, discard it.
Sources and safety references
Last source review: July 26, 2026. Check current product labels and official guidance when selecting material for a particular child.
- CPSC: Small Parts Ban and Choking Hazard Labeling
- CPSC: Water Beads
- American Academy of Pediatrics: Water Safety and Young Children
- CDC: Food Allergies in Schools and Early Care
- Head Start: Designing Messy Play for Infants and Toddlers
- American Academy of Pediatrics: Choosing Safe Art and Craft Supplies
Frequently asked questions
What is the best filler for a first sensory bin?
Start with the lowest-risk material that supports one action. For a mouthing child, try an empty bin with washcloths, a large cup and a whole sponge. For an older child who safely handles small loose materials, plain rice can support scooping and pouring. Water works well when an adult can provide constant arm’s-reach supervision.
How much filler do I need?
Begin with a 1- to 2-inch layer of loose dry material or only enough water to cover the bottom. Add more only when the activity needs it. A shallower bin costs less, spills less and makes hidden objects easier to find.
Can a 1-year-old play with a rice sensory bin?
Rice is a small loose material and is not appropriate for a child who mouths objects. Because many 1-year-olds still explore with their mouths, a large-object bin with fabric, cups, sponges or closely supervised water is the more conservative choice. Use the age-based sensory play guide for alternatives that do not depend on loose filler.
How long does colored rice take to dry?
There is no reliable single time. Humidity, layer depth and the amount of liquid all matter. Spread it thinly, turn it once and wait until it feels completely dry. Then rub a sample on white paper; any dampness or color transfer means it needs more time.
How many tools should go in a sensory bin?
Two or three related tools are enough for most setups. Pair a scoop with two cups, or tongs with two bowls. If the child loses interest, replace one tool instead of adding a pile of new objects.