25 Art and Craft Activities for 1- and 2-Year-Olds

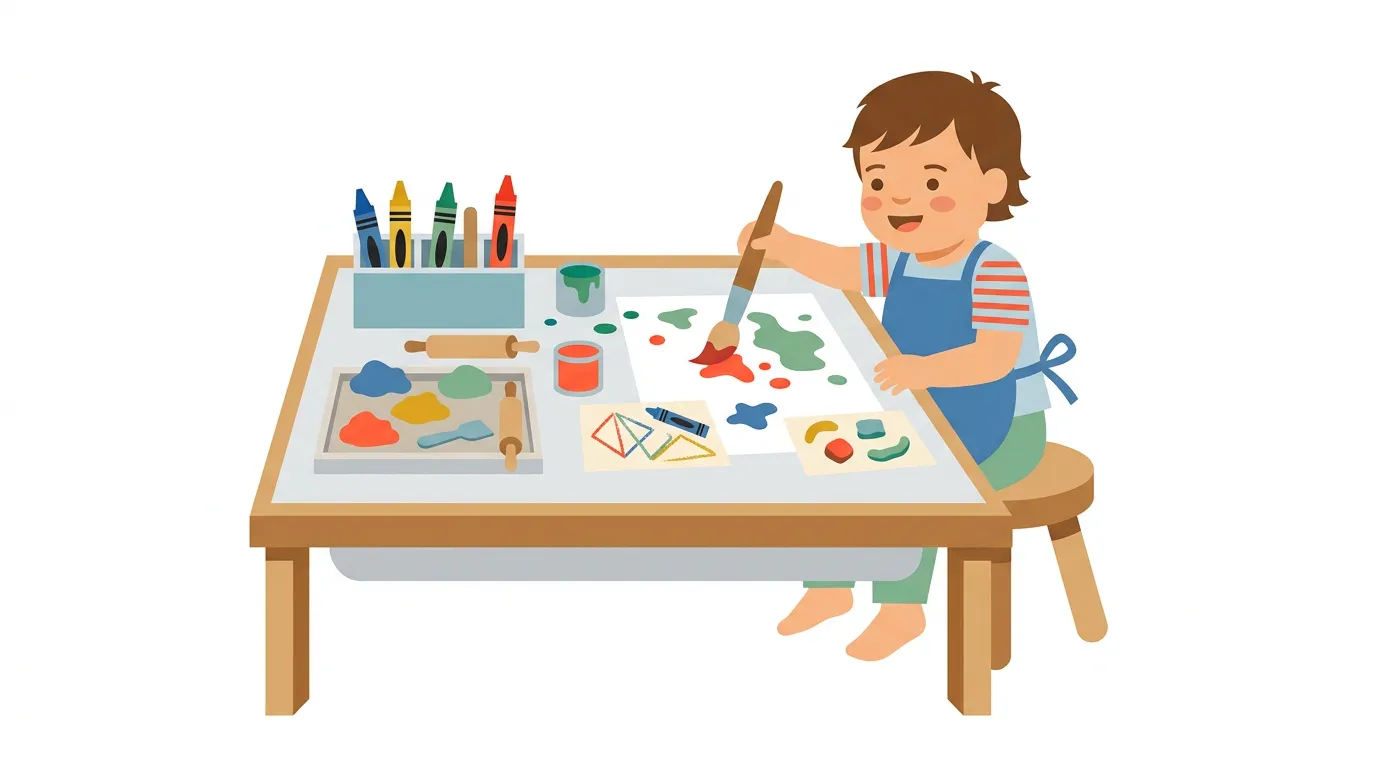
A toddler who makes three dots and leaves the table has not failed to finish a craft. At one and two years old, creative play is usually about discovering what paint, paper, dough, pressure, and movement can do—not copying an adult’s sample.
These 25 art and craft activities for 1- and 2-year-olds are short, adaptable invitations. You will find paint and no-paint options, ideas for children who prefer standing to sitting, a practical supply guide, and ways to contain the mess without taking control of the result.
Pick an activity that fits the moment
| What you need | Best first choices | Setup | Cleanup | Likely extra cost |
|---|---|---|---|---|
| almost no mess | jumbo crayons, stickers, water painting | 1–2 minutes | 1–3 minutes | none if supplies are on hand |
| strong hand input | dough pressing, sponge dabbing, block printing | 2–4 minutes | 3–8 minutes | optional dough or paint purchase |
| room to move | floor mural, vertical paper, outdoor water painting | 2–5 minutes | 2–8 minutes | none if supplies are on hand |
| a quick keepsake | one handprint, family banner | 3–5 minutes | 5–10 minutes | optional washable paint purchase |
| a child who avoids wet textures | box scribble, contact-paper collage, fabric arrangement | 2–4 minutes | 2–5 minutes | none if supplies are on hand |
The estimates are planning ranges, not promises. The least expensive setup is often paper or clean cardboard plus one washable tool already in the home. A large set is not automatically better: one color and one surface give a young toddler a clearer starting point.
Process art is different from a template craft
A template craft asks children to recreate a predetermined result. Process art leaves decisions about where to mark, how long to stay, and which tool to use with the child. The National Association for the Education of Young Children describes process art as choice-driven and open-ended, with minimal adult direction. That approach fits toddlers who are still learning what materials do. Read NAEYC’s overview of process art.
The adult still has an important job: select safe materials, protect the work area, demonstrate one possible action, and stay close. The child can then dab, tear, press, carry, mix, stop, or return. A recognizable picture is optional.
Scribbling appears on the CDC checklist for skills most children do by 18 months, but a milestone checklist is not an art curriculum or a diagnostic test. Children develop at different rates, and a craft result should never be used to judge development. See the CDC’s current 18-month guidance.
Buy and use toddler art supplies more safely
Choose products intended for children, in their original labeled containers. The CPSC Art and Craft Safety Guide recommends reading labels, avoiding old or unlabeled supplies, offering only small amounts, supervising closely, and washing hands after use. Look for the statement Conforms to ASTM D-4236; avoid products labeled Poison, Danger, Warning, Caution, Keep Out of Reach of Children, or Not for Use by Children. The American Academy of Pediatrics’ HealthyChildren.org gives the same practical shopping advice in its safe art-supply guide.
- Prefer washable, water-based, unscented products made for children.
- Keep permanent markers, solvent-based glue, spray products, powdered pigments, hot glue, adult scissors, staples, glitter, and resin out of toddler activities.
- Do not assume non-toxic means edible. Stop if paint, crayons, dough, glue, or markers are repeatedly mouthed.
- Exclude buttons, beads, sequins, pom-poms, googly eyes, marker caps, and other small loose pieces. The CPSC small-parts rule addresses choking, aspiration, and ingestion hazards for children under three.
- Prepare tape, contact paper, and pre-cut paper before the child joins. Collect backing sheets and scraps immediately.
Toddlers need active supervision throughout. Keep a damp cloth nearby, but wash hands with soap and water when the activity ends. If skin becomes irritated or a child seems unwell after contact with a product, stop using it and seek appropriate medical or poison-control advice.
Five low-mess ways to make marks
- Jumbo-crayon scribble. Tape a large sheet to the table or floor and offer one washable jumbo crayon. A 12- to 17-month-old may make a few broad marks; an older toddler can choose between two colors. Remove any crayon that is bitten or broken.
- Large-sticker page. Partly peel three to six large stickers and line them along the paper edge. The child chooses where to press them. Give one at a time and remove any sticker that goes toward the mouth.
- Water painting. Put a small amount of plain water in a stable cup and offer a wide brush on dark paper, a chalkboard, or an outdoor paved surface. The temporary marks appear and fade without paint.
- Cardboard-box scribble. Open a clean box, remove staples, labels, and loose tape, and let the child add broad crayon marks outside. The child can later use the box as a house, bus, or soft-toy container.
- Dot-marker trail. Offer one washable dot marker and keep its cap in your hand. The child can press isolated dots or make a trail. Stop if the tool is struck against the face, mouthed, or opened.
Five paint and print experiments
- One-color finger painting. Tape paper flat and add a teaspoon-sized amount of washable finger paint. Patting, smearing, and making a single print are complete activities. A child who dislikes wet hands can start with a sponge.
- Sponge dabbing. Cut no pieces in front of the child; use one large, intact sponge that cannot fit in the mouth. Put a shallow paint puddle on a plate and let the child press and lift.
- Large-block printing. Dip one intact wooden or plastic block into washable paint, then press it on paper. Uneven and overlapping prints are part of the experiment.
- Toy-wheel tracks. Roll a large, washable vehicle through a thin line of paint and across paper. Check that wheels are firmly attached before and after play.
- One handprint or footprint. Offer the invitation rather than holding a hand or foot down. If the child pulls away, use a sponge or block instead. A smudge is as valid as a clear keepsake.
Five paper and collage invitations
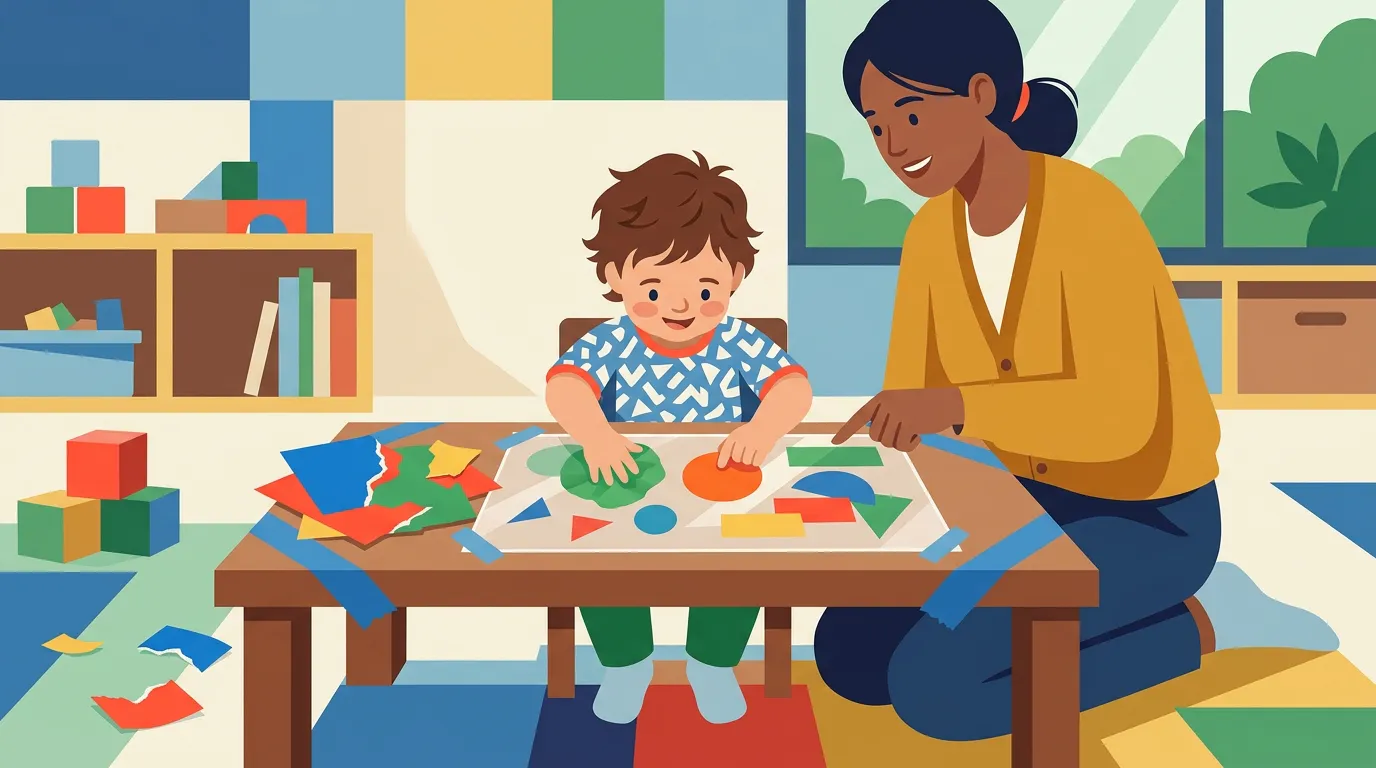
- Contact-paper collage. An adult tapes contact paper sticky-side-up to a table or window. Offer several palm-size paper shapes. Supervise continuously and remove the sticky sheet and all backings when play ends.
- Tear and place. Give an older toddler wide strips of thin paper to tear, then place the pieces on prepared glue patches or contact paper. For a younger toddler, pre-tear large pieces. Avoid tiny scraps.
- Fabric texture collage. Arrange large, clean pieces of felt, denim, fleece, and cotton on contact paper. Discard anything frayed or shedding threads.
- Tape-reveal painting. Before play, an adult applies wide painter’s tape to paper. The child paints over it; the adult removes the tape after the paint is dry. Loose tape is a mouth hazard, so preparation and removal remain adult jobs.
- Large-shape face. Put three or four oversized paper shapes beside a paper plate or large circle. The toddler chooses where an adult applies glue, or presses shapes onto contact paper. The arrangement does not need to resemble a face.
If the child is more interested in peeling than composing, follow that interest. Peeling large stickers and moving paper pieces also appear in our fine motor activity guide for one- and two-year-olds.
Five dough, pressing, and texture activities
- Press and pull dough. Offer a small amount of commercially labeled, age-appropriate dough on a tray. Model a palm press, one-finger poke, and pull-apart action. Non-toxic dough is not food.
- Large-roller tracks. Use a toddler-sized roller on flattened dough. Begin with soft dough and steady the tray; later, let the child hold the tray with the other hand.
- One large cutter. Press a blunt, age-appropriate cutter into dough and lift it together. Use one shape rather than a pile of tools.
- Texture impressions. Press an intact block, large comb made for play dough, or textured roller into the surface. Do not substitute forks, adult hardware, or small natural objects.
- Dough road. Flatten a strip of dough and push one large toy vehicle along it. The tracks disappear when the child squeezes the dough back together, so the activity can repeat without producing more artwork.
Five large-movement and shared art ideas
- Floor-paper mural. Secure a wide sheet of paper to an uncluttered floor and put crayons at opposite ends. Crawling or walking around the surface gives a restless child room to change position.
- Vertical mark-making. Tape paper securely at toddler height on a washable wall, easel, or sliding glass door. Standing changes the arm movement. Keep the child on the floor—never on a stool.
- Music and marks. Play one short song while the child draws or dabs paint. The song provides a natural endpoint, not a demand to move in time.
- Family banner. Each person adds a mark, print, or sticker to a long sheet. Give toddlers their own section and tool so collaboration does not require forced sharing.
- Outdoor water mural. Use plain water and wide brushes on a fence, wall, or pavement. Watch marks darken and fade. Keep the water container shallow, stay within arm’s reach, and empty it immediately afterward.
Adjust art for 12–17 months and 18–23 months
For roughly 12–17 months: use one material, a stable surface, and a single visible action. Pre-lift a sticker, load the sponge, steady the paper, or offer one piece of dough. Expect touching, carrying, tapping, and a very short turn.
For roughly 18–23 months: add one choice or step. Offer two colors, let the child dip the tool, invite them to hold the paper steady, or combine draw-and-sticker. Do not add small pieces or demand a finished picture simply because the child is older.
These are practical adaptations, not developmental requirements. Reduce the activity again whenever frustration, fatigue, mouthing, throwing, or sensory discomfort appears.
Talk about art without taking it over
Describe what happened instead of guessing what the picture represents or grading it. Useful comments include:
- “You made a long blue line.”
- “The sponge left small dots.”
- “You pressed hard, and the mark became darker.”
- “You put the soft fabric beside the rough one.”
Questions such as “What is it?” may assume the child intended to draw an object. A pause and a factual observation give them room to respond with a word, gesture, another mark, or nothing at all.
Use a repeatable setup and storage system
- Protect one surface and put a damp cloth within reach.
- Set out only the material needed for that invitation.
- Stay beside the child and demonstrate once.
- End while materials are still being used safely.
- Wash hands, clean tools, and dry everything before storage.
Store paint, dough, markers, glue, scissors, tape, and contact paper in a locked or inaccessible adult-controlled place. A small working bin might contain only large paper, jumbo crayons, a mat, and a washable tray. Photograph temporary or oversized work, date a few favorites, and recycle the rest. Saving every page is not required to value the experience.
Frequently asked questions
What if my toddler gets bored after two minutes?
Two minutes can be enough. Try one immediate action, such as a preloaded sponge, three large stickers, or water painting. If sitting is the problem, move paper to the floor or wall. Repeat a favorite another day instead of adding more supplies mid-session.
What if my toddler puts every art material in their mouth?
Stop the activity rather than relying on a non-toxic label. Choose large-object play, water painting with a closely supervised brush, or another non-art option. If you want food-based sensory ideas, review ingredients, allergies, and hygiene first; our taste-safe sensory play guide explains those tradeoffs. Taste-safe still does not mean unsupervised.
Are homemade art supplies safer or cheaper?
They may cost less, but homemade does not automatically mean safer. Recipes can contain allergens, high levels of salt, food coloring that irritates or stains, or ingredients unsafe if swallowed in quantity. Commercial children’s products provide labels and intended-use information. Compare total cost, storage life, ingredients, cleanup, and the child’s mouthing habits before deciding.
Does my two-year-old need scissors practice?
No single craft tool is required. Many children at this age get plenty of two-hand and finger practice from dough, stickers, crayons, page turning, and containers. If scissors are introduced later, use a product labeled for the child’s age with seated, direct adult supervision and follow its instructions.
How do I keep toddler art without keeping every sheet?
Keep a small rotating folder, photograph oversized work, and add a date plus a factual note to a few favorites. A note such as “rolled the blue car through paint” records the process more meaningfully than trying to name a picture the child did not intend.
Sources and review notes
Material-safety and developmental claims were reviewed on July 26, 2026. Primary references: